こんにちは。中山です。
Dialogflow の Fulfillment のコードが長くなりすぎて読みにくい!となったとき、こんな解決方法がありました。
- Dialogflow とは
- Fulfillment の課題
- Fulfillment のファイルを分割したいが・・・
- Cloud Function for Firebase として編集してみる
- 修正後の検証
- しかしもうインラインエディタは使えない
- まとめ
Dialogflow とは
Google の Dialogflow では、ブラウザのページ上で、簡単な操作・設定をおこなうだけで、高品質な対話アプリを作成することができるようになっています。
以下は例として、有給休暇申請など「企業内での事務手続きをサポートするチャットボット」を想定した、Dialogflow アプリの設定イメージです。
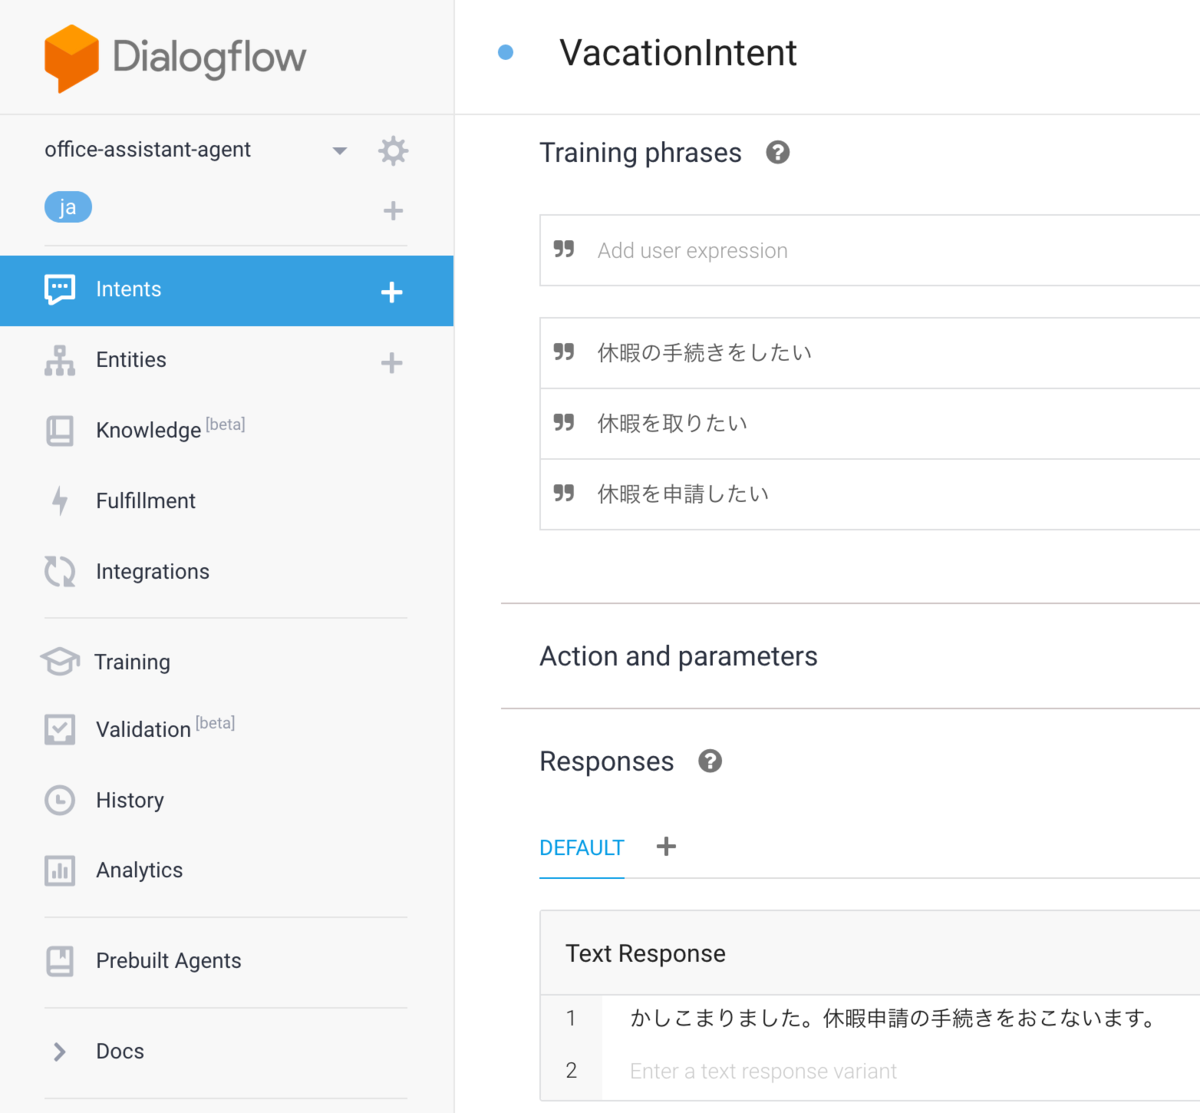
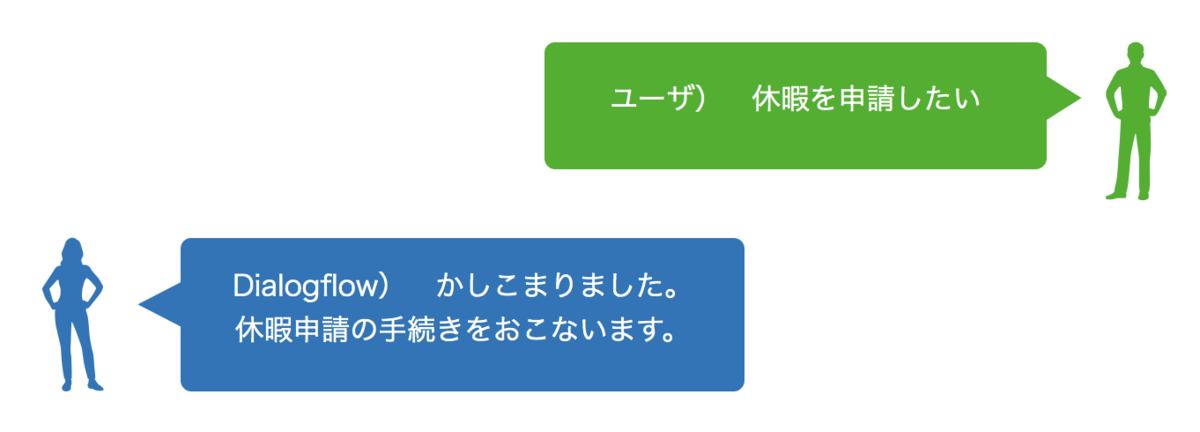
たとえば上記の VacationIntent では、ユーザから「休暇を申請したい」という入力があった場合に、「かしこまりました。休暇申請の手続きをおこないます。」というメッセージを返す、という設定になっています。
(今回利用するサンプルでは、この休暇申請用の VacationIntent と、同様に交通費を申請する手続きのための TransportationIntent を用意しています。)
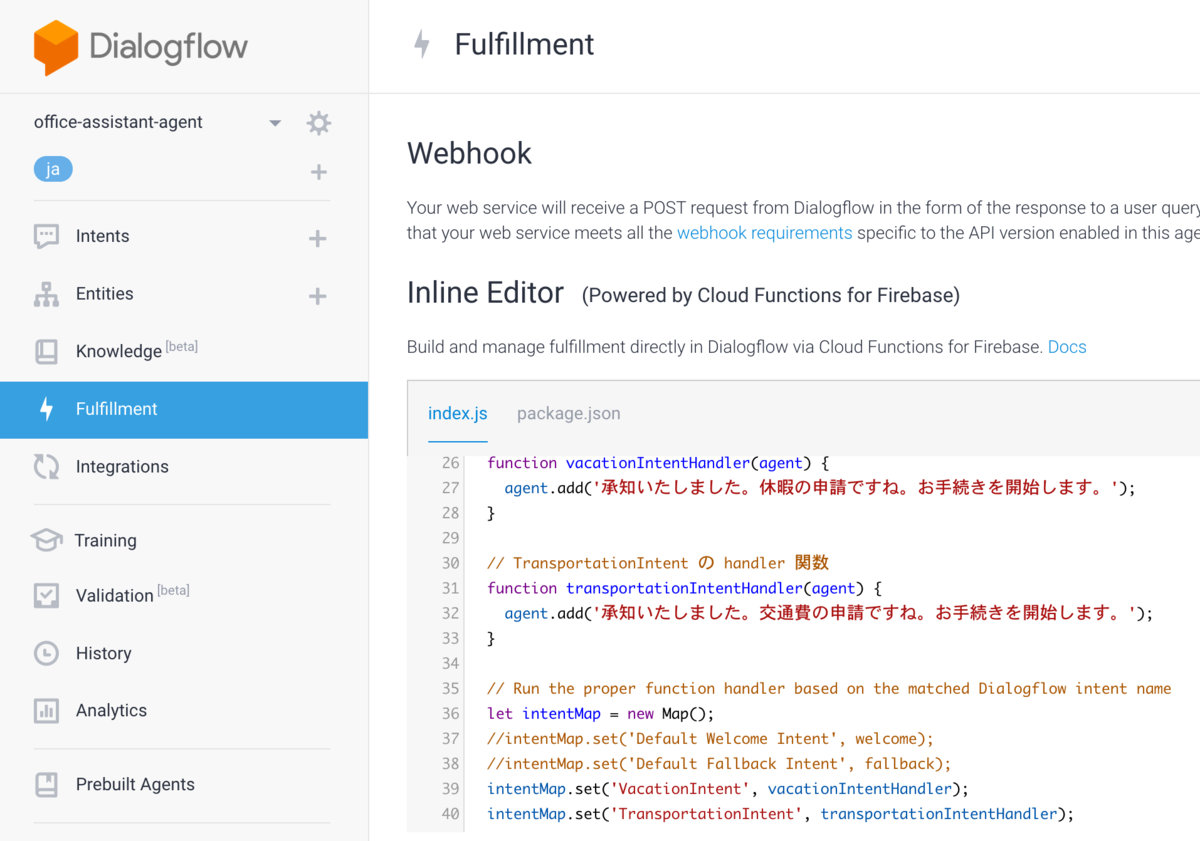
加えて、Dialogflow では、Fulfillment にコードを記述することで、より柔軟なコントロール、また外部サービスとの連携などが可能となっています。
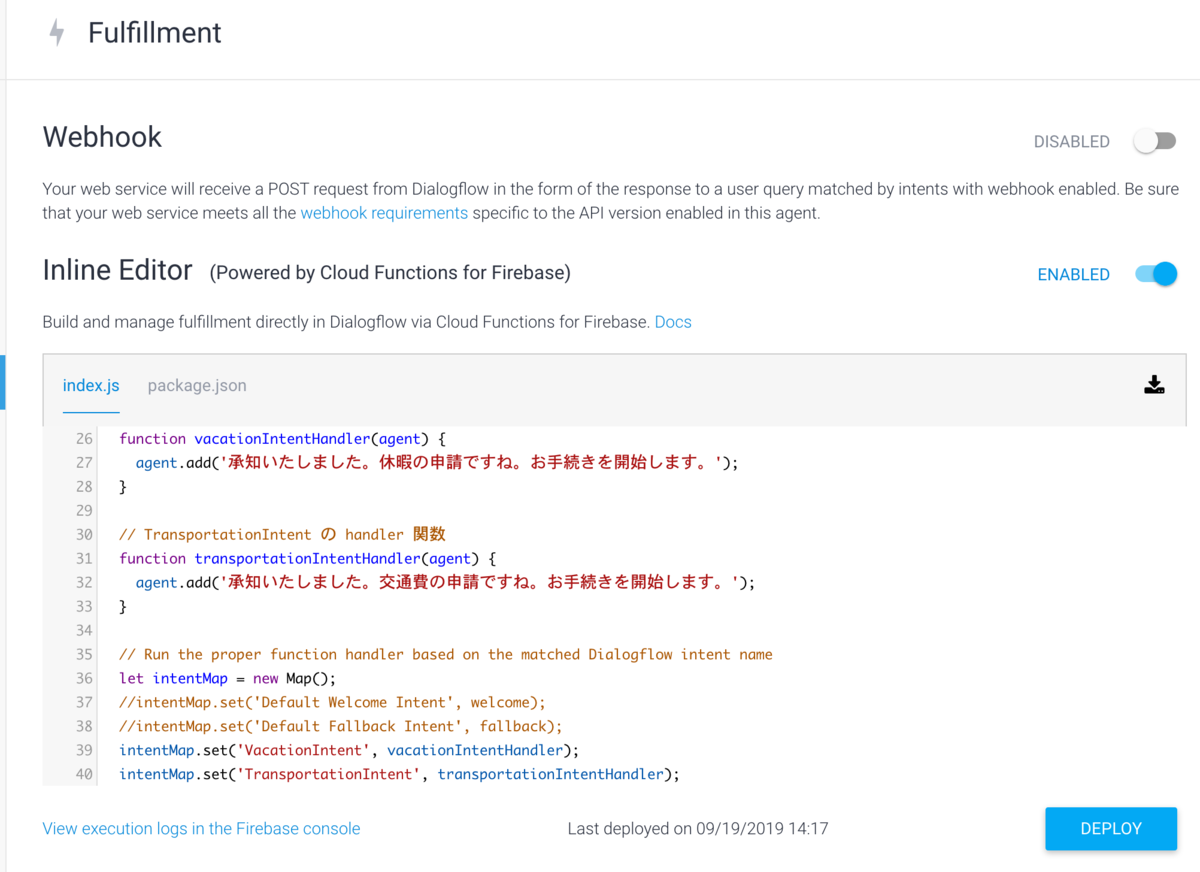
Dialogflow のコンソールページから Fulfillment のページを開くと、コードのインラインエディタが用意されており、ブラウザ上で直接、コード編集がおこなえるようになっています。
この Fulfillment の実体は、Cloud Functions for Firebase である、とのことです。
Fulfillment の課題
しかし、Dialogflow で提供する機能が増えてくると、合わせて、この Fulfillment のコードも多くなっていきます。
初期状態ですと、Fulfillment のコードは、実質的に index.js ファイル 1つだけで構成されていますので、コード量が増えると、この index.js ファイルが何百行、何千行にもなってしまい、大変見通しが悪くなります。
Fulfillment のファイルを分割したいが・・・
すぐに思いつく対策としては、この Fulfillment を構成する index.js を機能ごとにファイル分割して、1 ファイルあたりのコード量を抑える、という方法です。
しかしながら、Dialogflow のコンソールページからは、この Fulfillment のファイルをダウンロードすることはできるものの、このページ上でファイルを新規追加したり、分割したファイルをアップロードしたり、というのはできないようです。
Cloud Function for Firebase として編集してみる
Fulfillment の実体が Cloud Functions for Firebase である、とのことなので、
- ローカル環境に Cloud Functions for Firebase の開発環境を準備して、
- Fulfillment のソースファイルをダウンロードして、
- ローカル環境で編集して、
- それを Firebase にデプロイしなおす
という方法で対処できるかもしれません。さっそくやってみましょう。
1. Cloud Functions for Firebase の開発環境を準備
こちらのページを参考に Firebase CLI をインストールします。
Firebase CLI インストール後、以下のコマンドを実行して、firebase ツールを認証します。
firebase login
2. Fulfillment のソースファイルをダウンロード
Dialogflow の Fulfillment のページから、ページ右側の「ダウンロード」のボタンをクリックして、ソースファイルをダウンロードします。( firebaseFulfillment.zip ができあがります。)

3. ローカル環境で編集
3-1. 修正前コードの確認
ダウンロードしたソースファイルを展開すると、 firebaseFulfillment ディレクトリが生成され、その中は以下のようになります。
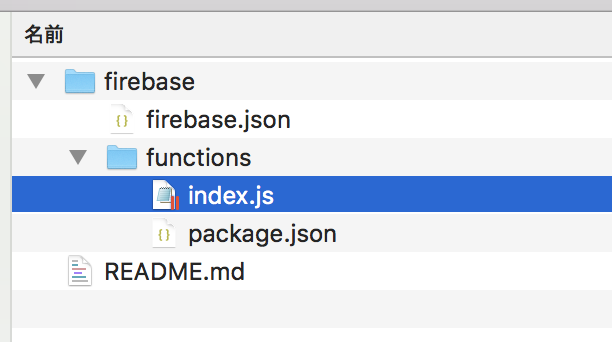
もともとの index.js は、今回のサンプルの場合は以下のようになっています。
// See https://github.com/dialogflow/dialogflow-fulfillment-nodejs
// for Dialogflow fulfillment library docs, samples, and to report issues
'use strict';

const functions = require('firebase-functions');
const {WebhookClient} = require('dialogflow-fulfillment');
const {Card, Suggestion} = require('dialogflow-fulfillment');

process.env.DEBUG = 'dialogflow:debug'; // enables lib debugging statements

exports.dialogflowFirebaseFulfillment = functions.https.onRequest((request, response) => {
  const agent = new WebhookClient({ request, response });
  console.log('Dialogflow Request headers: ' + JSON.stringify(request.headers));
  console.log('Dialogflow Request body: ' + JSON.stringify(request.body));

  // 休暇申請手続きを担当する VacationIntent の handler 関数
  function vacationIntentHandler(agent) {
    agent.add('承知いたしました。休暇の申請ですね。お手続きを開始します。');
  }

  // 交通費申請手続きを担当する TransportationIntent の handler 関数
  function transportationIntentHandler(agent) {
    agent.add('承知いたしました。交通費の申請ですね。お手続きを開始します。');
  }

  // Run the proper function handler based on the matched Dialogflow intent name
  let intentMap = new Map();
  intentMap.set('VacationIntent', vacationIntentHandler);
  intentMap.set('TransportationIntent', transportationIntentHandler);

  agent.handleRequest(intentMap);
});
各 Intent( 休暇申請用の VacationIntent、交通費申請用の TransportationIntent )の handler 関数も、index.js に全部まるごと定義されている状態になっています。
3-2. ファイル分割と調整
index.js にまるごと定義されていたものを、対象の Intent ごとに別ファイルにして、
- VacationIntent 用には vacation.js
- TransportationIntent 用には transportation.js
を新規に作成し、元の index.js からはこれらのモジュールを読み込むように修正してみます。修正後のファイルは以下のとおりです。
vacation.js:
const vacationIntentHandler = (agent) => {
    agent.add('承知いたしました。休暇の申請ですね。お手続きを開始します。');
}
module.exports = vacationIntentHandler
transportation.js:
const transportationIntentHandler = (agent) => {
    agent.add('承知いたしました。交通費の申請ですね。お手続きを開始します。');
}
module.exports = transportationIntentHandler
index.js:
// See https://github.com/dialogflow/dialogflow-fulfillment-nodejs
// for Dialogflow fulfillment library docs, samples, and to report issues
'use strict';

const functions = require('firebase-functions');
const { WebhookClient } = require('dialogflow-fulfillment');
const { Card, Suggestion } = require('dialogflow-fulfillment');
// vacation.js、trainsportation.js のモジュールを読み込む
const vacationIntentHandler = require('./vacation')
const transportationIntentHandler = require('./transportation')

process.env.DEBUG = 'dialogflow:debug'; // enables lib debugging statements

exports.dialogflowFirebaseFulfillment = functions.https.onRequest((request, response) => {
  const agent = new WebhookClient({ request, response });
  console.log('Dialogflow Request headers: ' + JSON.stringify(request.headers));
  console.log('Dialogflow Request body: ' + JSON.stringify(request.body));

  // Run the proper function handler based on the matched Dialogflow intent name
  let intentMap = new Map();
  // vacation.js、trainsportation.js から読み込んだモジュールを、Intent の handler に設定
  intentMap.set('VacationIntent', vacationIntentHandler);
  intentMap.set('TransportationIntent', transportationIntentHandler);

  agent.handleRequest(intentMap);
});
参考: https://stackoverflow.com/questions/57237203/how-to-split-functions-into-another-file-in-index-js
今回の例では、そもそものコード量も少ないので、それほど分割の効果はありませんが、とにかく、無事にファイル分割することはできました。
修正後のファイル構成は以下のようになります。
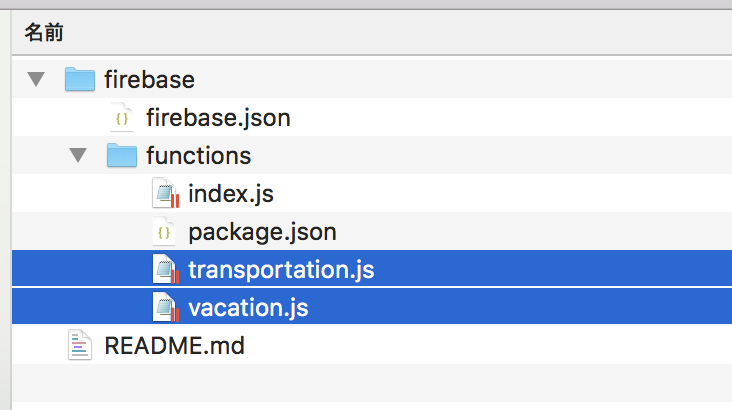
4. Firebase にデプロイ
Dialogflow のコンソールページの Fulfillment のページから、ページ下側の View execution logs in the Firebase console のリンクをクリックすると、Firebase 側の、Cloud Functions のコンソールページに移動します。

ページ左上から「プロジェクトの設定」をクリックして、

表示されたページから、プロジェクト ID をコピーして保存しておきます。
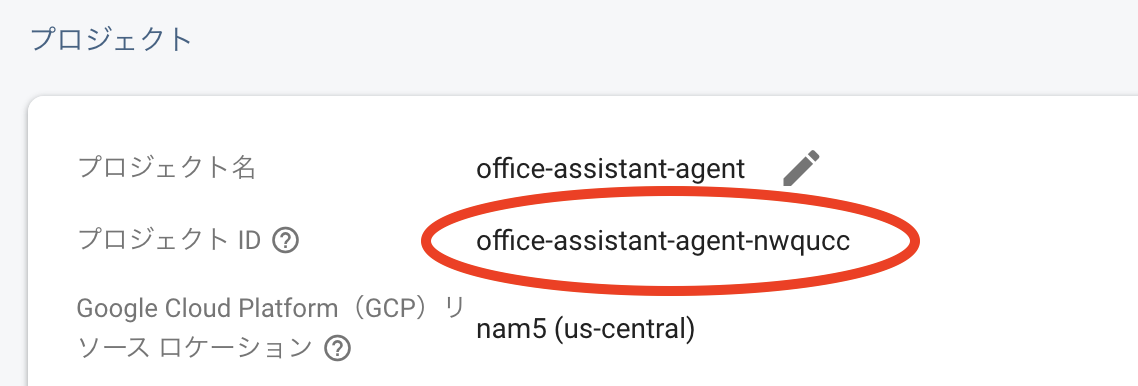
ローカル環境のターミナルから、ダウンロードしたソースファイルのディレクトリ( firebaseFulfillment ディレクトリ)内で以下コマンドを実行して、必要なモジュールをダウンロード・インストールします。
cd firebase/functions/
npm install
続けて、以下のコマンドで、修正したファイルを Firebase にデプロイします。
--project オプションには、先ほど保存したプロジェクト ID の値を指定します。
firebase deploy --only functions --project office-assistant-agent-nwqucc
修正後の検証
Dialogflow のコンソールページ上から、対話の文章を入力し、Fulfillment で定義したメッセージが、想定どおりに返されることを確認できました。
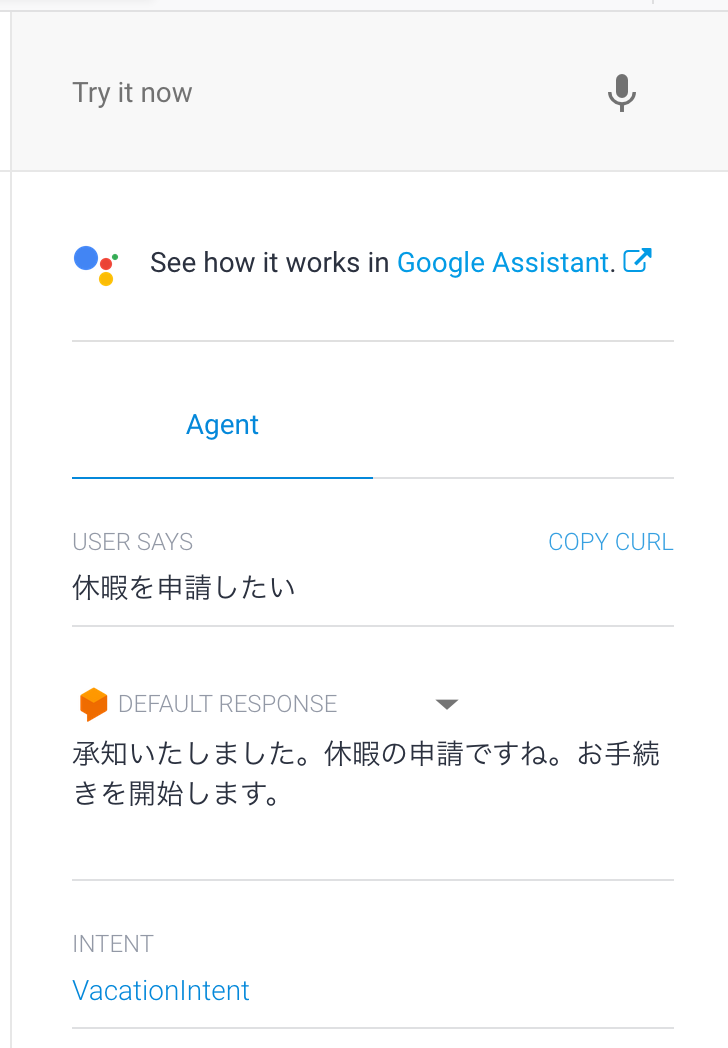
しかしもうインラインエディタは使えない
しかしながら、Fulfillment のページを見ますと、以下のように
Your Cloud Function has been modified outside of the Dialogflow editor which is not supported. Please continue using your external tools.
という警告のメッセージが出ていました。
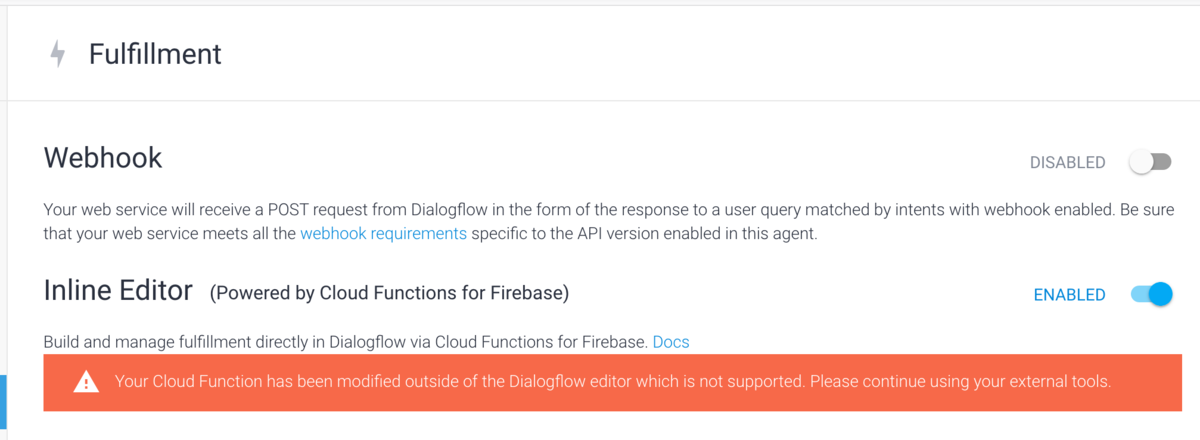
こちらのページにも説明がありますとおり、
インライン エディタでサポートされるファイルは、index.js と package.json の 2 つのみです
とのことのようですので、index.js、package.json 以外のファイルを追加した場合は、もうこのインラインエディタは利用できず、代わりに、ローカル環境でファイルを修正して、Firebase にデプロイする、といった方法で更新していくことになるようです。(ソースファイルの規模が大きくなる場合は、そのほうがやりやすいのかもしれません。)
まとめ
Dialogflow の Fulfillment は、index.js ファイルが肥大化する前に、外部での編集に切り替える、というのがよさそうだと感じました。